To scan checks directly in Prisma, you’ll first need the Product Key provided by Prisma and you’ll need to download both the Driver and Ranger Remote. If you haven’t completed these steps yet, please see the “How Do I Download The Check Scanning Software To Scan Within The Prisma Portal” help article.
- In your Prisma account, navigate to ‘Payments” on the left hand side
- Click on “RDC Review”
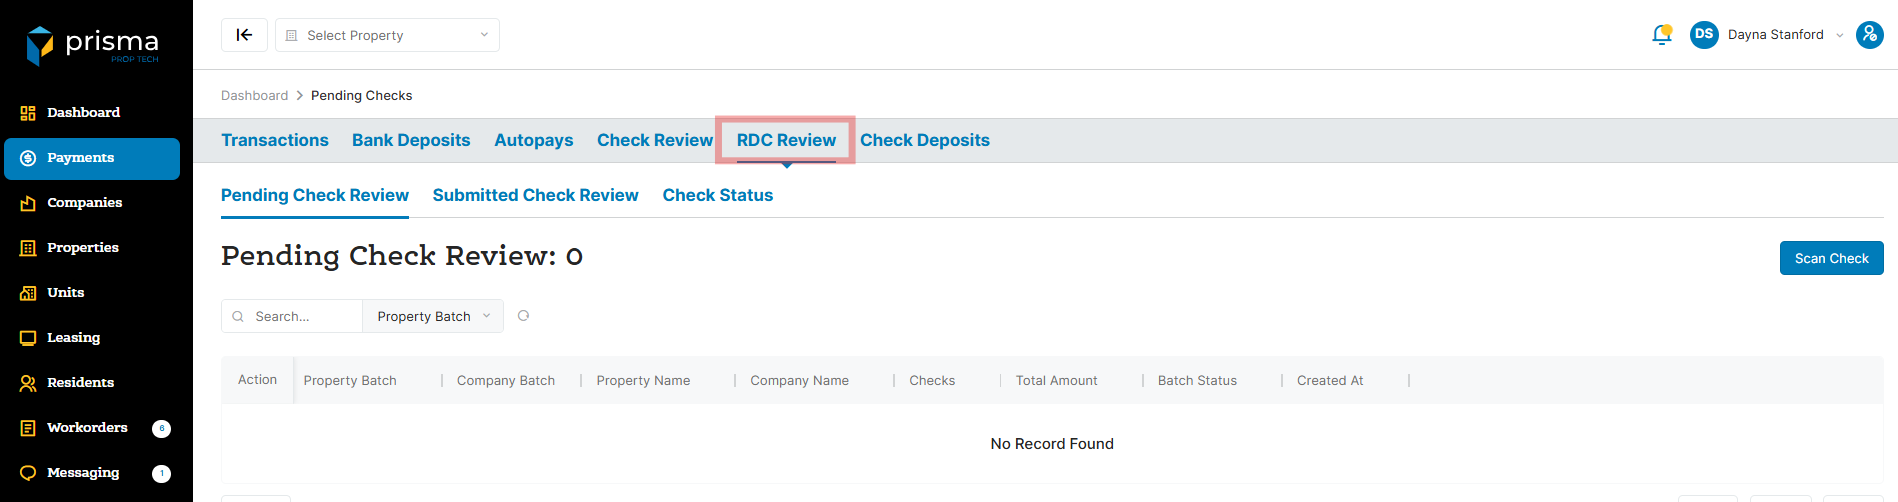
- Place the checks in your scanner, then click “Scan Check.”
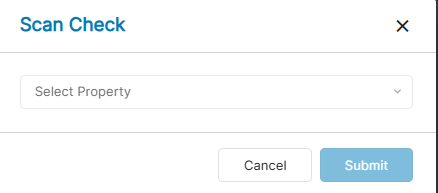
- From the “Select Property” dropdown, choose the property you’d like to scan checks for and then click “Submit”
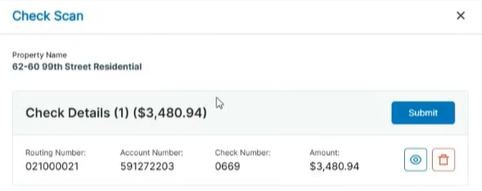
- Once your checks have been scanned, a pop-up window will appear displaying all scanned items. In the example below, only one check was scanned; if you scanned five checks, you would see five separate line items. Click “Submit”
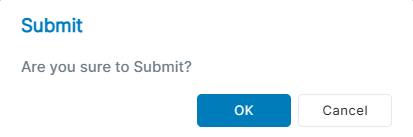
- A “Submit” confirmation window will appear. Click “OK.”
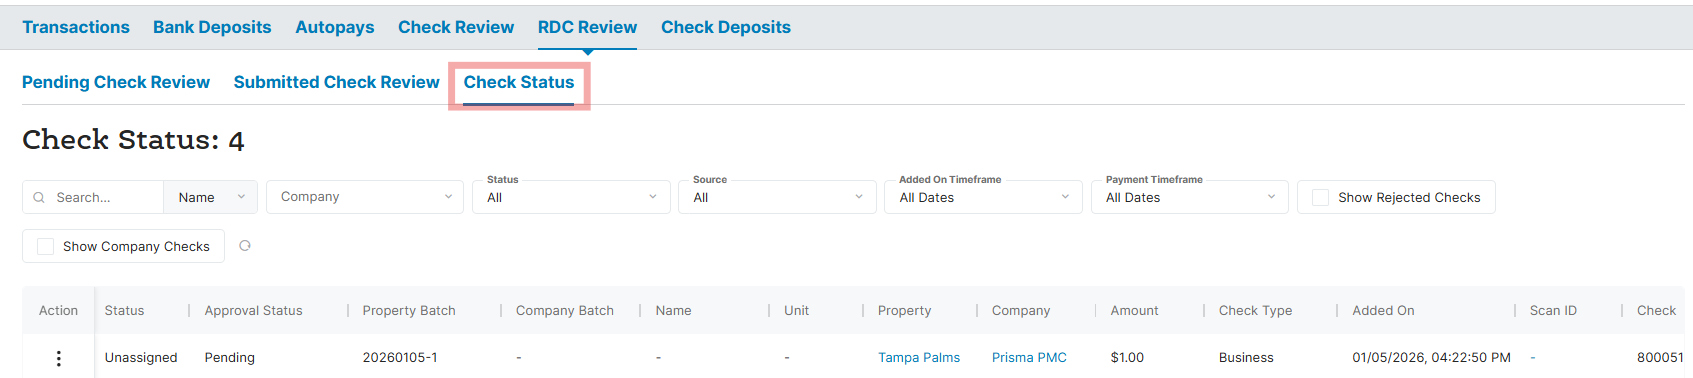
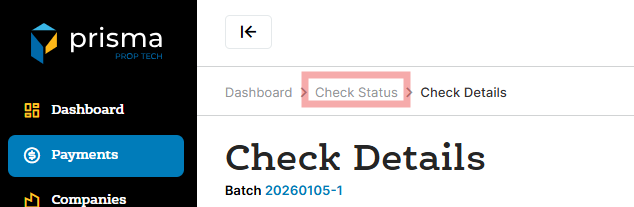
- Next, click “Check Status.” If no checks appear, click “Refresh” as it could take a few seconds to load
- In the “Action” column, click the three dots menu and select “View”
- A new window will open where you can view the front and back of the check, confirm the payment details, and identify the resident to match the check payment to. The check image must be clear, no black marks or creases
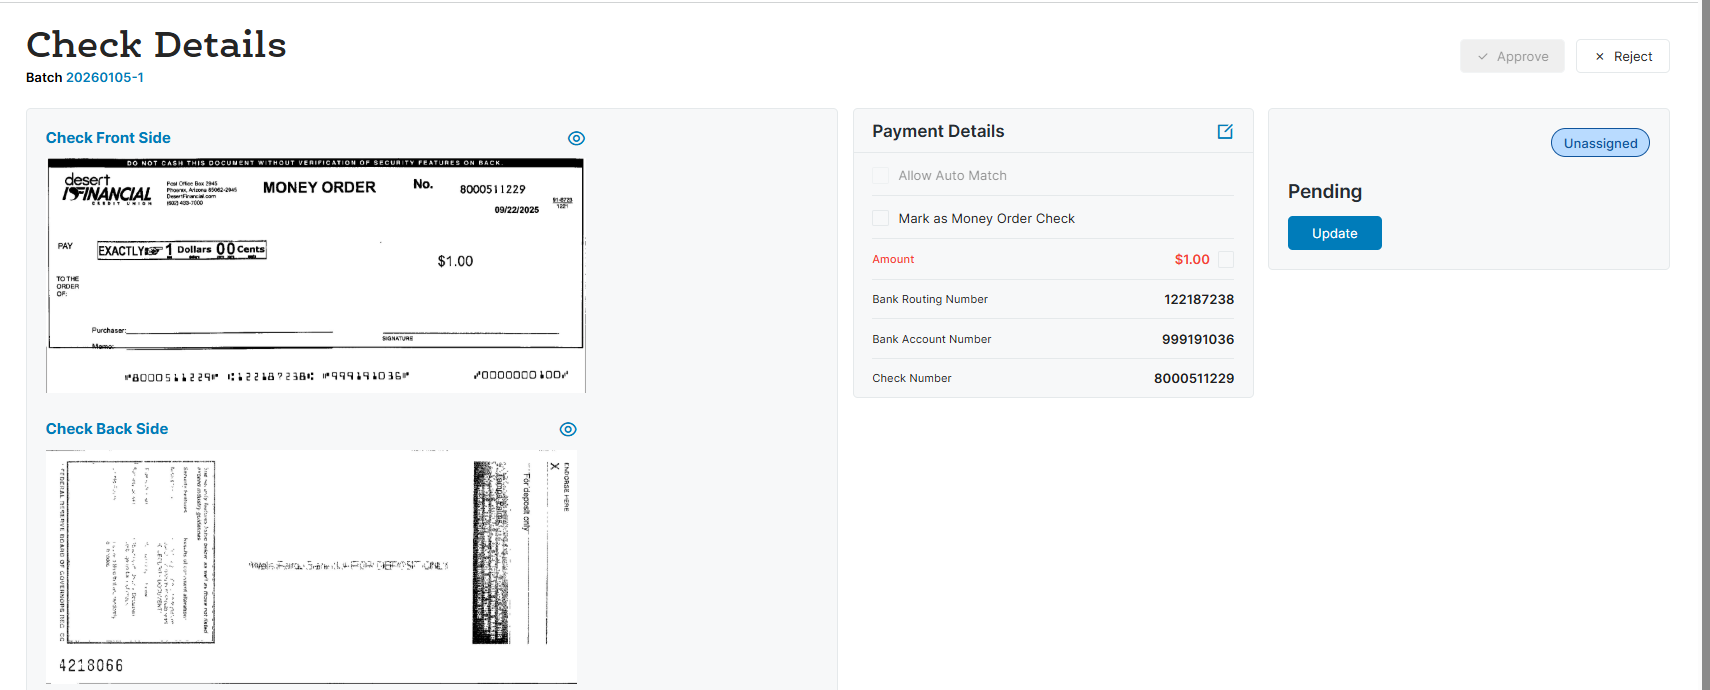
- Next you will verify the check information matches the details in the Payment Details section. Make sure the amount, bank routing nubmer, bank account number and check number are correct. If not, click the edit icon to make udpates
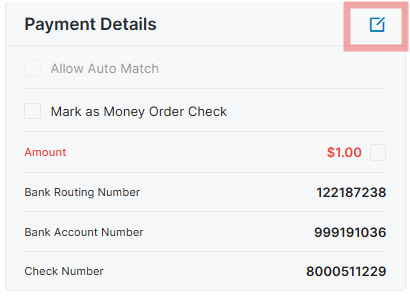
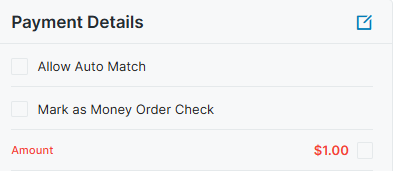
- Once you have confirmed the payment details are accurate, select the checkbox labeled “Mark as Money Order check” if the payment was made by money order. If it is not a Money Order, do not check the box
- Confirm the amount is accurate by checking the box next to the displayed amount
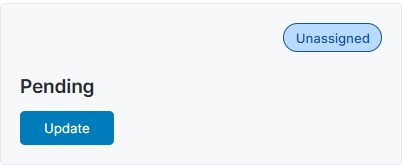
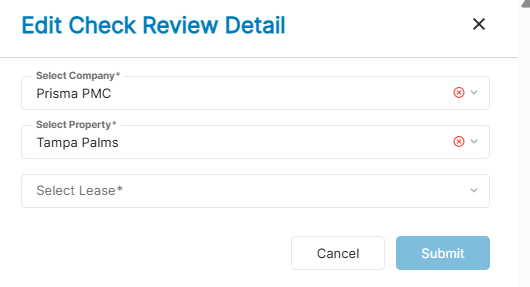
- Now you’ll associate the resident with the check. Click “Update.”
- In the “Select Lease” dropdown, choose the resident and lease the check should be applied to and click “Submit”
- If you’d like future checks from this bank account and routing number to automatically match, select the “Allow Auto Match” checkbox under Payment Details.
- Once you’ve finished validating the check details and associating the resident, click “Approve.”

- Click on “Check Status”
- Click on “Pending Check Review”
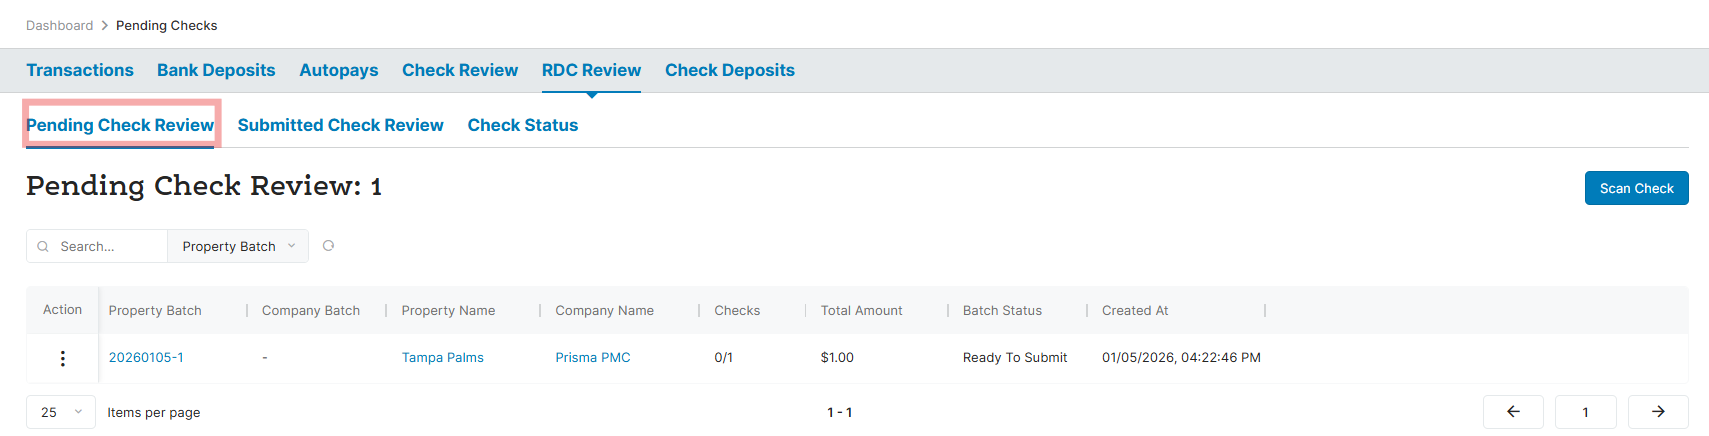
- The batch of checks will display. In the “Action” column, click the three dots menu and select “View”
- Click on “Submit Batch”

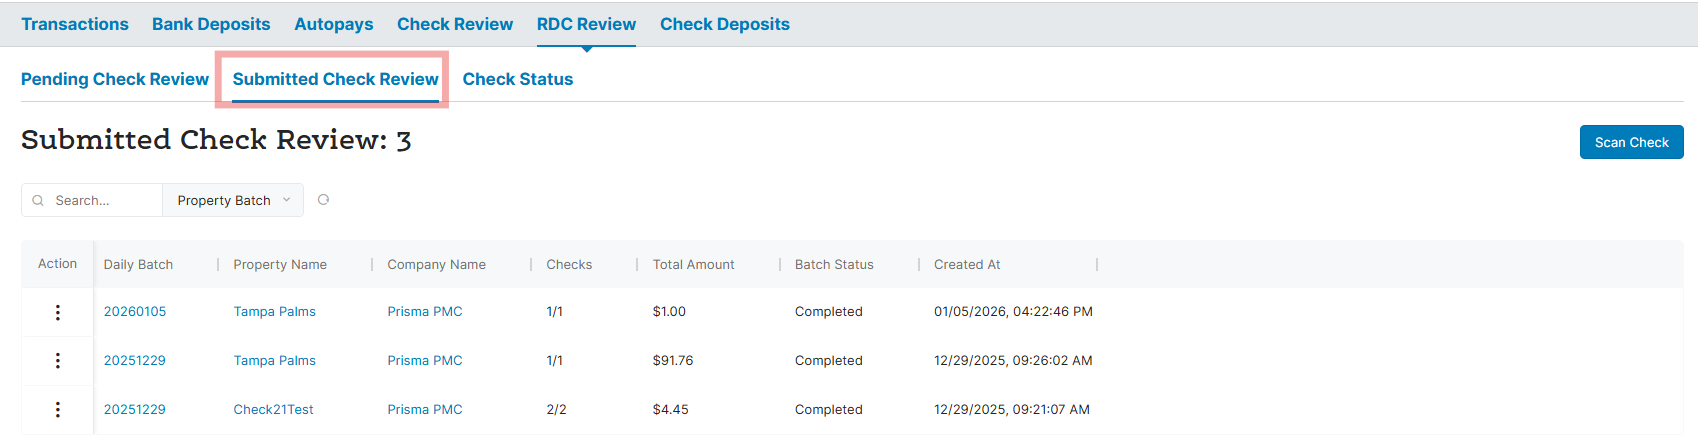
- On the “Submitted Check Review” tab, you will see a listing of all the submitted batches. In the “Action” column, click the three dots menu and select “View”
- Next, click the export button (the first down-arrow icon) to download the batch report with check images

You have now completed the process. You can scan another batch and repeat the steps above as needed.