When you use the Prisma Portal to scan checks, make sure you first download and install the following components:
- Check scanner driver
- Ranger Remote software
Before you begin, make sure you have the Product Key provided by Prisma. If you don’t have your Product Key, please contact prismasupport@prth.com to request it.
Then follow the steps below to complete the installation process:
- Unplug your check scanner from your computer.
- Click here to open the Check Scanner Drivers site.
- Scroll down to the Driver and Ranger Remote Downloads section (about one quarter of the way down the page).
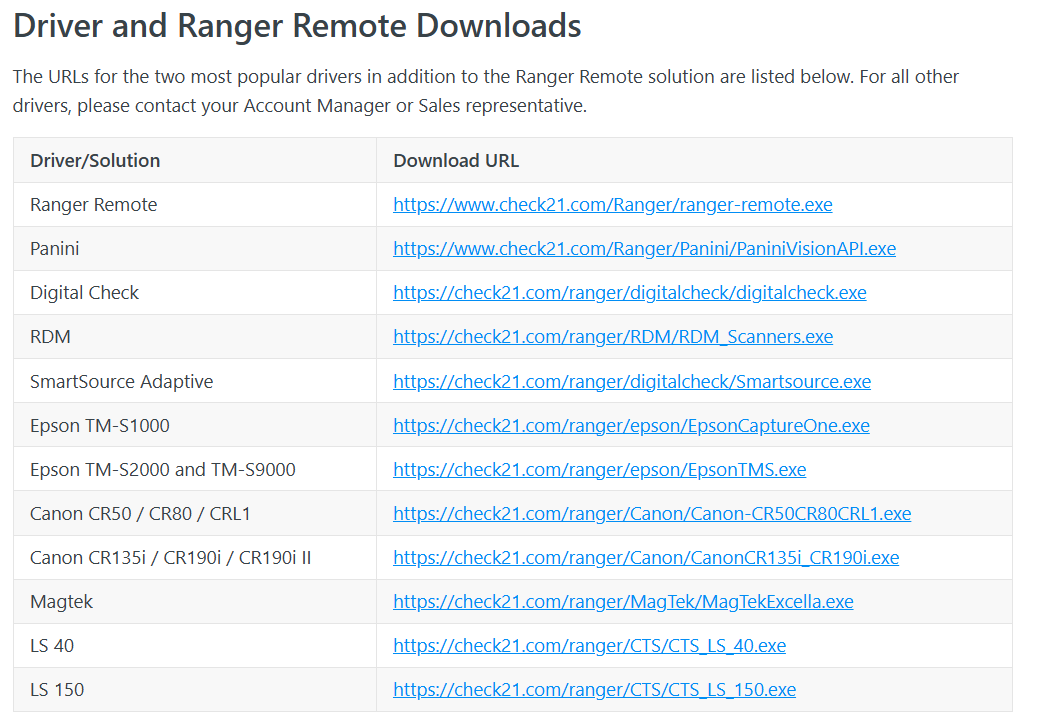
- In the Driver/Solution column, find your scanner model and click the download URL that corresponds to that model.
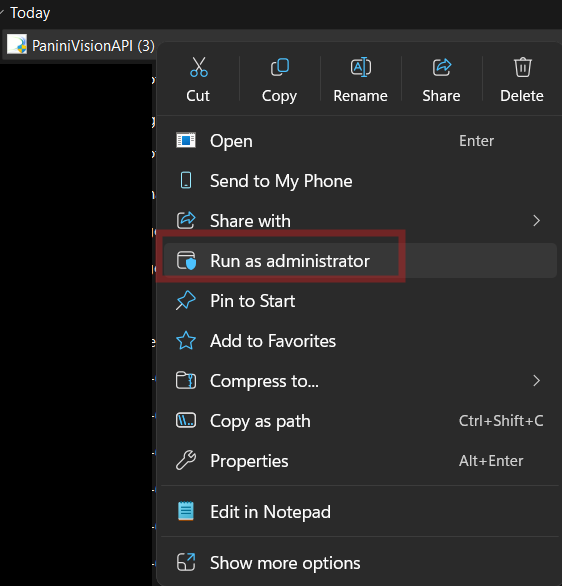
- Open File Explorer and locate the downloaded file.
- Right-click the file, then select **Run as administrator**.
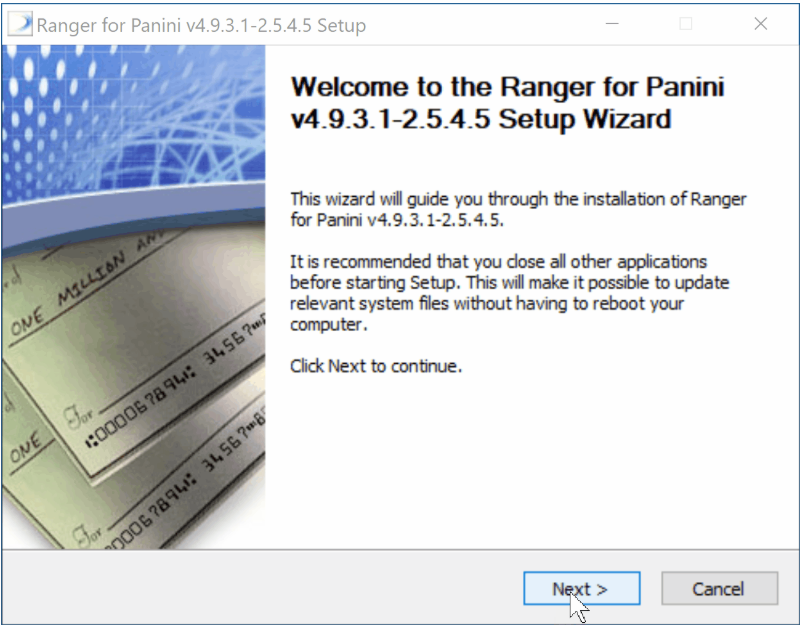
- Click **Next** to begin the setup process.
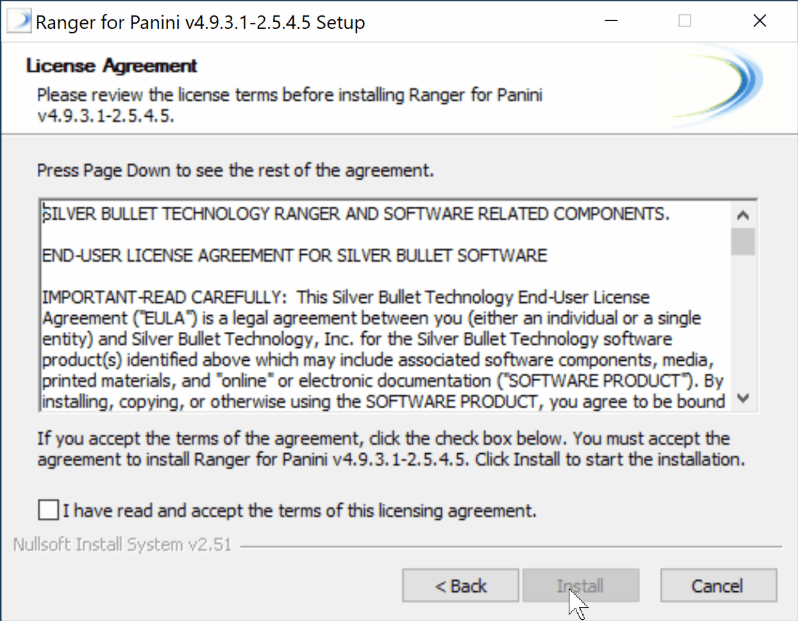
- Check the box “I have read and accept the terms of this licensing agreement.”
- The download will begin. When it completes, click **Finish** to continue.
- Next, install the Ranger Remote software. Click here to download the Ranger Remote.
- Open File Explorer and locate the downloaded file.
- Right-click the file, then select **Run as administrator**.
- Click **Next** to begin the setup process.
- Click **I Agree**
- Check the box “InstallWith WSS Protocol” and click **Install**

- The download will begin. When it completes, click **Finish** to continue.
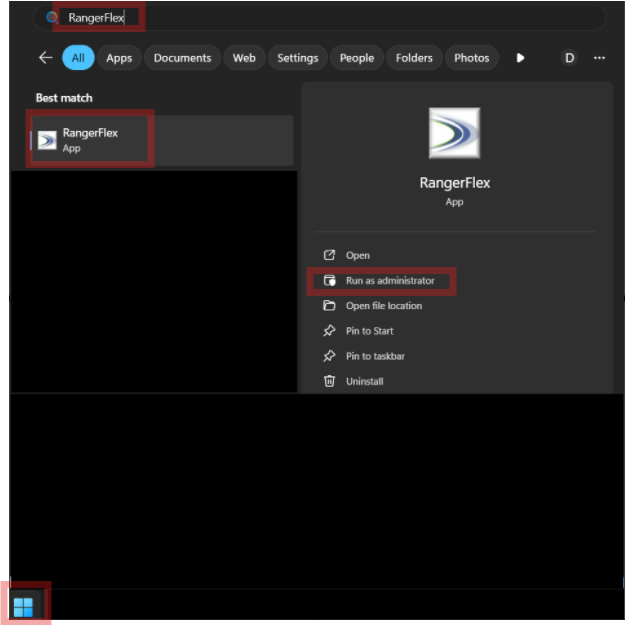
- Now that the driver and Ranger Remote are installed, the final step is to register and unlock the driver. Click the **Start** icon (bottom left) and, in the search bar, type **RangerFlex**. Locate the RangerFlex app, then right-click it and select **Run as administrator**.
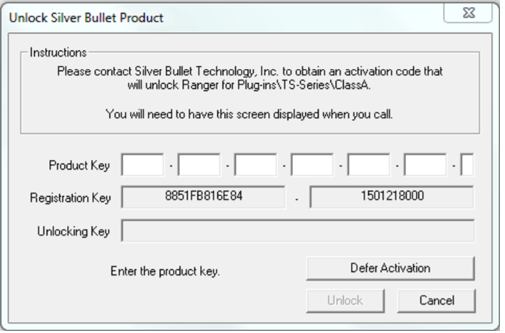
- When prompted, enter the Product Key provided by Prisma.
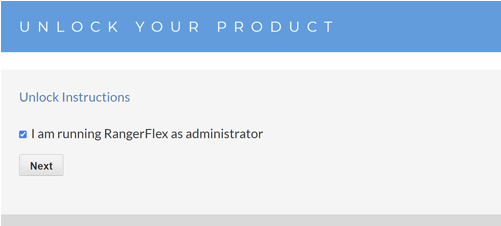
- While the above screen is still active, click on your browser and vist the following URL: https://sbullet.com/technical-support/unlock/
- Click the checkbox marked “I am running RangerFlex as an Administrator” and click “Next”.
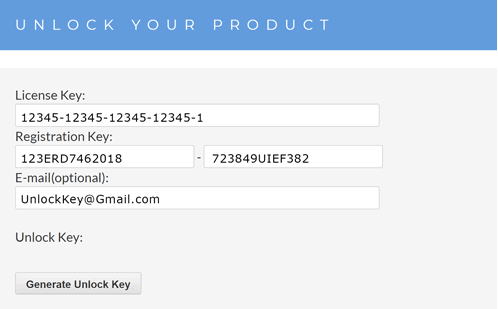
- Enter the Product Key provided by Prisma in the License Key field.
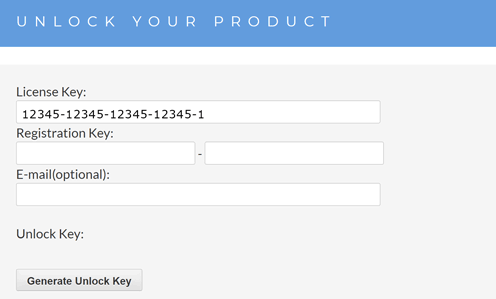
- Enter the Registration Key provided within the active RangerFlex window in the Registration Key field.
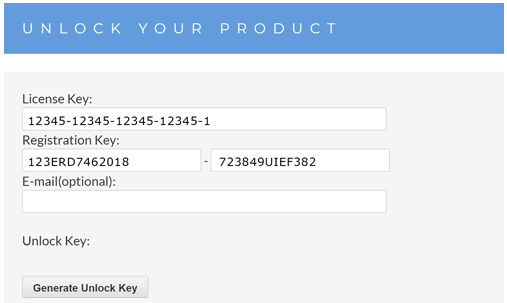
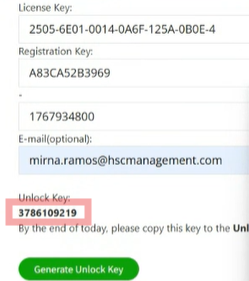
- Enter your email address in the e-mail address field and click “Generate Unlock Key”.
- Copy the Unlock Key from the browser window and Paste it within the current RangerFlex window.
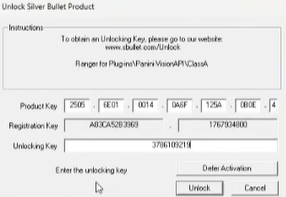
- Click “Unlock”.
- Reconnect the check scanner to your computer.
You’ve successfully installed the software required to scan check payments directly in Prisma. For detailed, step-by-step instructions on scanning checks, refer to the **“How Do I Scan Check Payments In Prisma”** help article.