Please note there are two steps you must complete, the software download and then the driver download. Please ensure you follow all the steps below.
Step One
- Click here to download the software to your PC
- Click ‘Install Application’
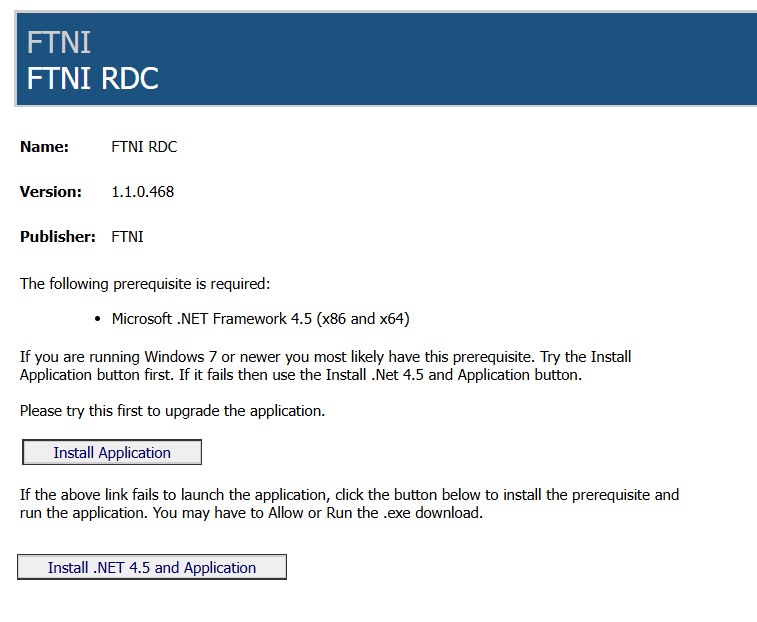
- A file download called ‘TheFTNRDC’ will appear. Click the downloaded file

- An ‘Application Install’ window will open. Click ‘Install’
- A new window will display showing the download progress. It may take several minutes to download. Once the download is complete, the login window will appear
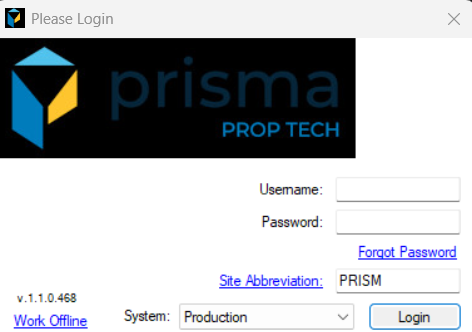
- Enter your username, password
- In the site abbreviation field enter the Site ID provided by Prisma.
- Make sure the “system” field says Production
- Click ‘Login’
Step Two
Next, you will need to download the driver for the scanner. Some key notes before proceeding:
- Before beginning the installation, ensure the scanner is unplugged from your computer. Disconnect the USB cable prior to proceeding.
- There are two separate installs for this scanner. Each takes 15 to 20 minutes but may take longer depending on the PC.
- Ensure previous software is uninstalled from your computer. You can refer to this SOP
Step Three
Click here to download the driver to your PC and follow the instructions below based on your scanner model (scroll down until you find your model).
Digital Check
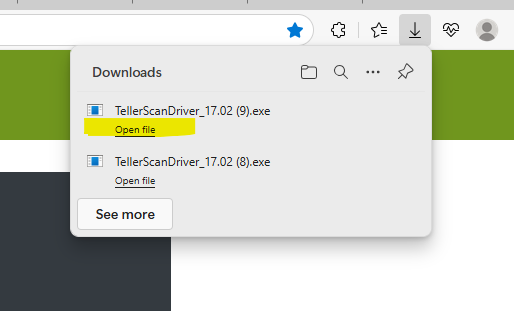
- Locate your check scanner and select ‘Download Driver’
- A file download will appear. Click the downloaded file
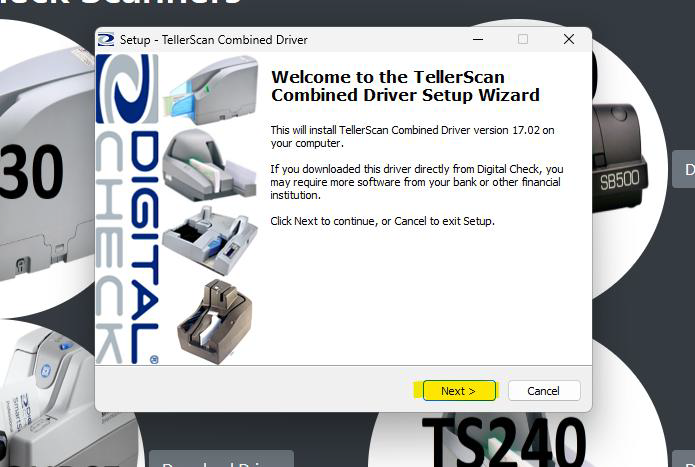
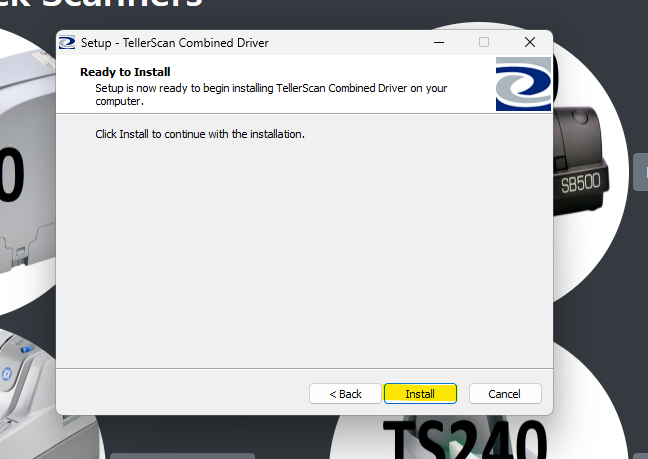
- A window will appear. Click ‘Next’ and then click ‘Install’
- Once the installation is complete, click ‘Finish’
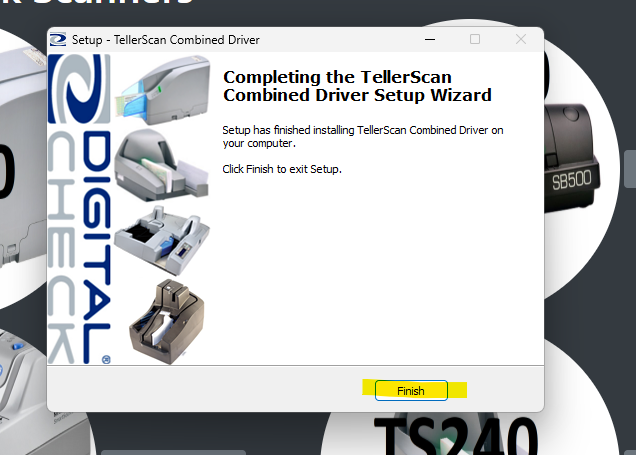
- Log into the software to initialize the scanner
Panini
- Locate your check scanner and select ‘Download Driver’
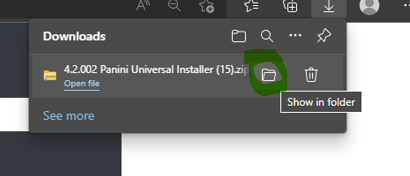
- A file download will appear. Click the ‘Show In Folder’ icon
- Right click on the zip file folder and click ‘Extract All’
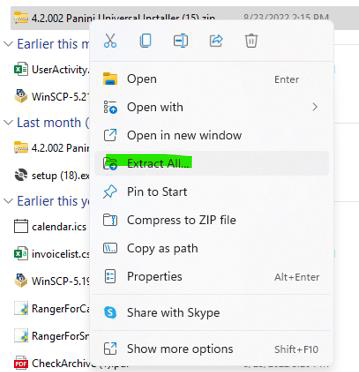
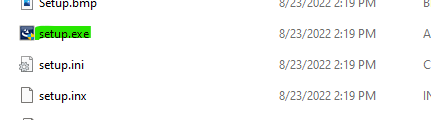
- Once done, locate the ‘Setup.exe’ option and double click to open it. If you do not see that option, click Setup where the type column says ‘Application’
- Once the install begins, you will be prompted with the ‘Preparing Setup’ window followed by the ‘Welcome Window For Install Wizard’
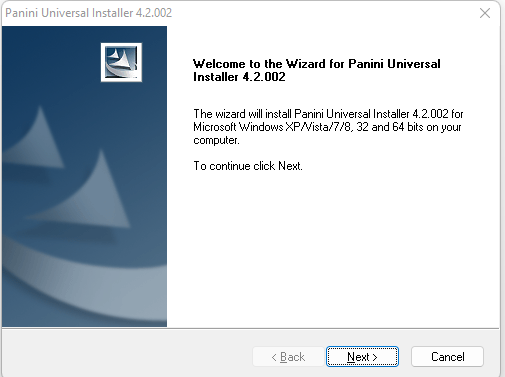
- Click ‘Next’ to begin and accept the licensing agreement. Once you accept, Click ‘Next’
- Choose the location where you want the install to be and ‘click ‘Next’
- Click ‘Next’. You will see the features prompt. Leave all the boxes checked and click ‘Next’
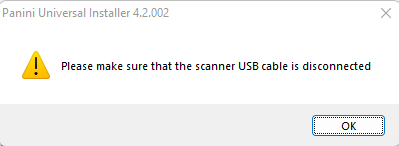
- A prompt will appear as a reminder to ensure your scanner is disconnected from the computer before the download starts. Double check and ensure your scanner is not connected to your computer. Once you confirm your scanner is disconnected from the computer, click ‘Ok’
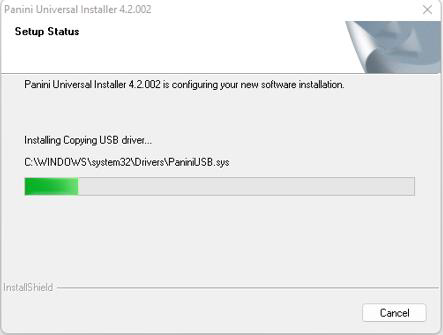
During this step, there may not be any visible progress on your screen. The installation is running in the background, so please wait patiently until the next window appears. - Once the download completes, approximately 15 minutes, you will see another screen ‘Welcome to the InstallShield Wizard for Panini Avantor Control Module Client’. Click ‘Next’ to start the second download process

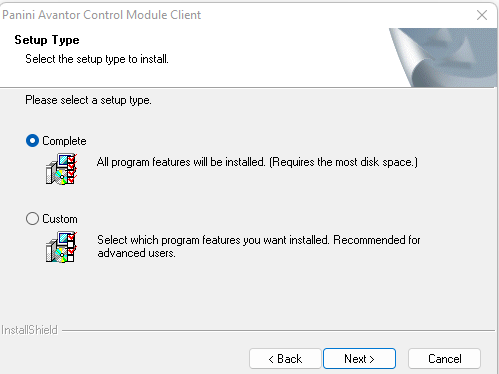
- A ‘Setup Type’ window will display. Click ‘Next’
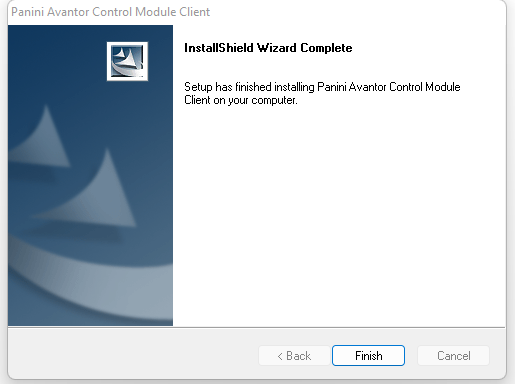
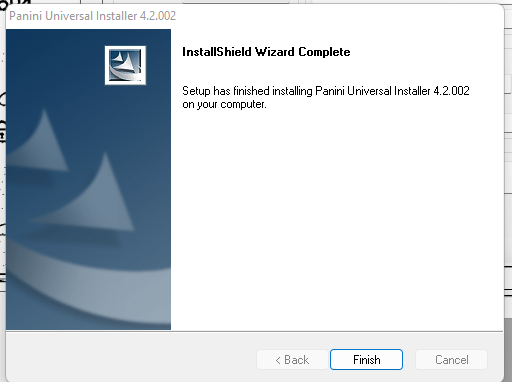
- Once the ‘InstallShield Wizard Complete’ window displays, click ‘Finish’
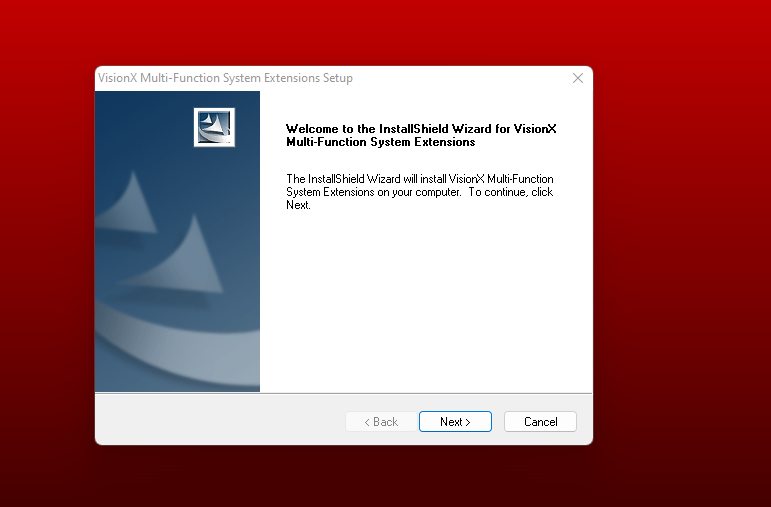
- A red screen will appear for the VisionX install wizard. Click ‘Next’
- Choose the location where you want the install to be and click ‘Next’
- You will see the features prompt. Leave all the boxes checked and click ‘Next’.
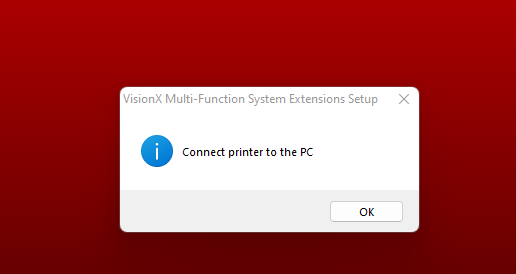
- A ‘Connect Printer to the PC’ window will appear. Plug the scanner into the computer and click ‘Ok’ once it is connected
- You will see two icons in your task bar and the installation will automatically start. Once complete the ‘InstallShield Wizard Complete’ window will display. Click ‘Finish’

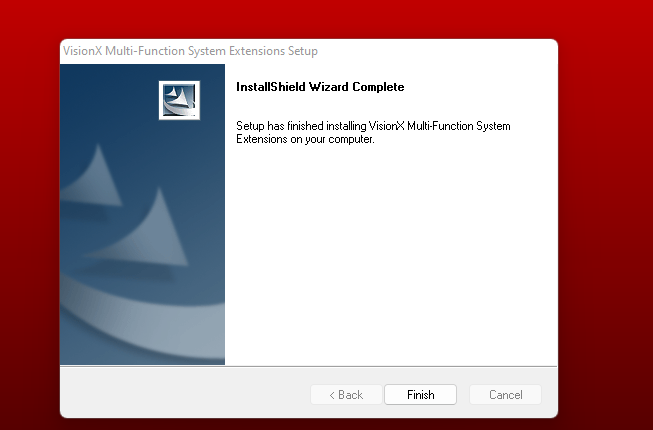
- Another window will display, click ‘Finish’ to complete the install process
- Restart your computer. Once done, log into the software to initialize the scanner